Are you thinking of upgrading your car’s audio system? Or are you facing problems with your car audio? Whatever the case is, you should check up on the capacitor for your car audio. At the time, these capacitors go out of charge, so you may need to charge them.
Don’t know how to charge a capacitor for car audio? Well, I am here to help you out with that. I will go through some basic steps and tips you can follow along with them. So, let’s get going with it.
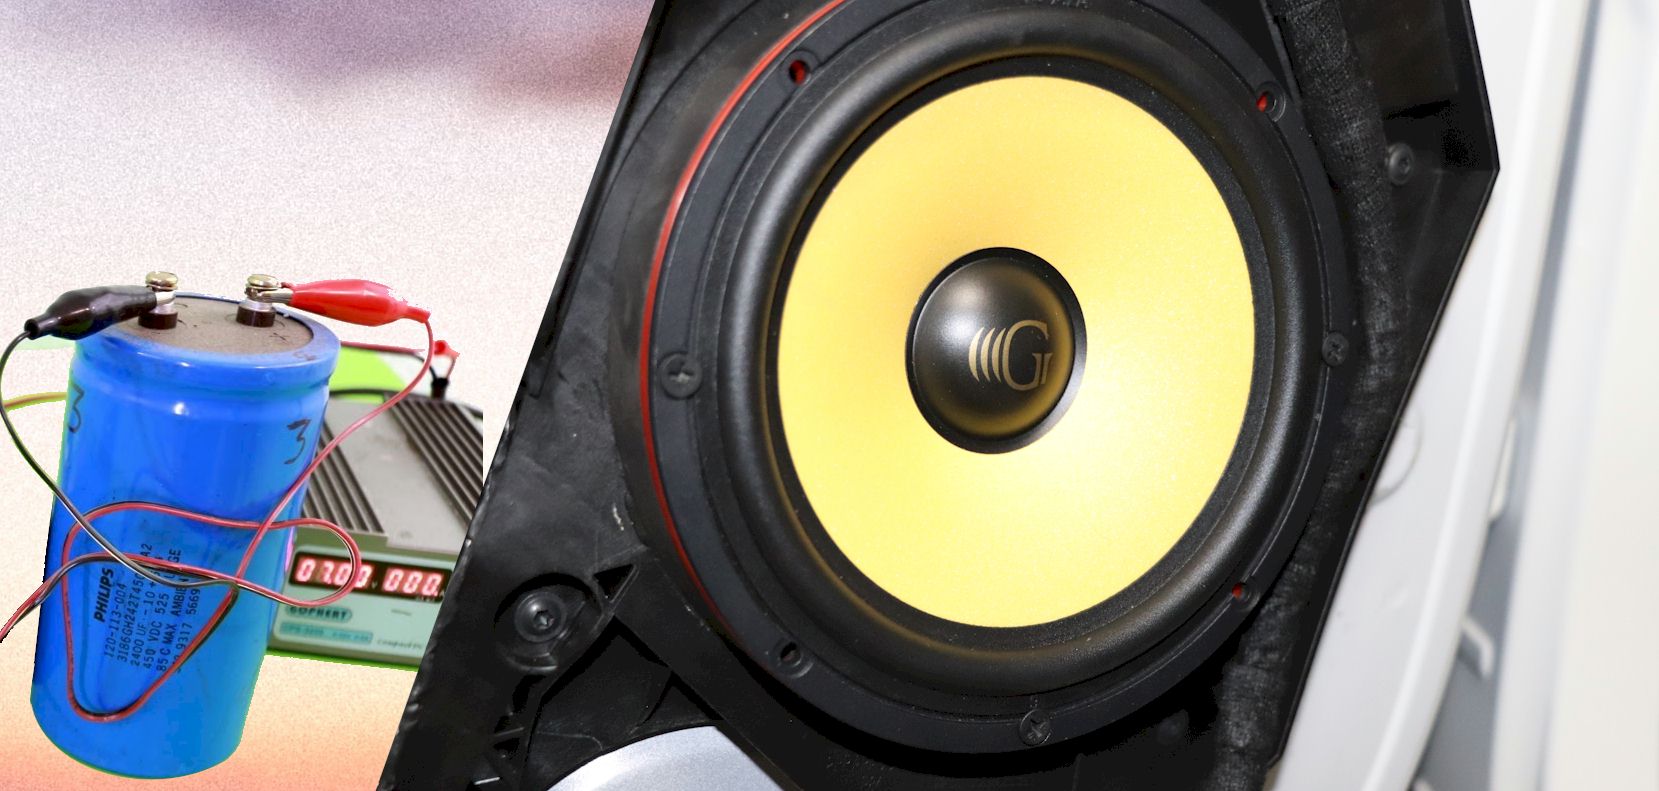
How does a capacitor work? charging and discharging a capacitor
Before you learn how to charge, you should know a little about how this thing works. This will give you an idea of why you should charge it and when to do it.
Typically, you will see capacitors in various electrical items. But for your car, it plays a role that is connected to your car audio system. The amplifier in your car audio will often draw out a huge chunk of energy from your car battery. While this gives your car audio all the power it needs, it leaves the other car functions with less power.
Imagine this, you are driving at night, but the lights of your car are dimming. It’s both annoying and risky for you. And that happens because you have a powerful amplifier hogging on the battery power, leaving the car lights with less power.
With a capacitor added in there, you don’t have to worry about this issue. Because a capacitor creates the balance in power consumption for a powerful audio system in your car, it gives some energy to the amplifier so that it doesn’t hog on the battery power. This way, the battery can also provide power to the other car activities, including the lights.
Now, why do you need to charge a capacitor, and how does it discharge. Well, in truth, a capacitor doesn’t hold as much energy as a battery would. If you have gotten a new capacitor from somewhere, then you will need to charge it first. Here’s why
When you keep a capacitor charged for a long time without use, it can become dangerous and result in a fatal shock. Also, if the terminal of the capacitors isn’t shorted before storing them, it can lead to higher voltages when you keep the circuit open.
So, before you install a new capacitor in your car’s audio system, you have to charge it. Or else you might get a spark due to the quick current inflow.
As for the discharge, that happens over time after usage. Also, when you have to remove a capacitor, you will need to discharge the capacitor first, or else you will get a sudden shock. You can use two wires and a 12-volt bulb to discharge the capacitor at home.
Related: car radio won’t turn on after battery replacement
How to charge a car audio capacitor (step by step)
Now, let’s get on with the real deal, how you can chare the capacitors. You will have to charge your car’s audio capacitor before installing it and buying a new one. It’s not that difficult to do either.
Usually, there are two types of capacitors you will come across. One comes with a charging tool, and the other one doesn’t have one. I will tell you how to charge both types. So, let’s get started.
How to charge it using a charging tool
If you have gotten a capacitor that comes with a charging tool, you can quickly charge it. You don’t have to rely on any professional help to charge it. The charging tool is like a plat with 4 wires and a resistor. Here’s how you use the tool to charge the capacitor –
- First of all, you have to find out the positive and negative terminals of your capacitor. Then, use the corresponding wires on the charging tool you have gotten.
- Next up, take another positive wire from the charging tool and connect that to the battery’s positive terminal.
- Now, you have to take the second negative wire and ground it. To do that, connect the wire to the car’s chassis. Keep in mind that the charging tool and audio system should have different grounds. So, make sure to avoid a common ground for them.
- Once you have connected the ground, your capacitor should start charging right away. But your work isn’t finished here as you have to measure it.
- To measure the voltage, you will need a multimeter. Take it out, configure it before you begin.
- After 2 or 4 minutes, use the probes on the charging tool ends. This will give you a voltage reading for it. Now, if you see the reading slowly rising, it means the capacitor is properly charging. But if it isn’t, then you might have to check up on the wires and connections.
- You have to stop charging the capacitor as soon as you see a reading of 12v. Or if you know the voltage isn’t increasing anymore, it’s time to stop charging. , remove the ground connection for the charging tool first. And then slowly remove the other wires.
That’s it. It’s so easy to charge up a capacitor using a charging tool. And it doesn’t take a lot of time either.
Related: Noise From Speakers When the Car is Off
How to charge the capacitor without any tool
So, what do you do when you don’t have a charging tool? In that case, you can use a test light bulb with 12V to charge your capacitor. Here’s how you do it-
- First of all, you have to ground your capacitor here. To do that, connect your negative terminal to the car’s chassis, and that should do it.
- Next, you will have to connect a wire to your battery on the positive terminal. And then connect the other end of the wire to the test bulb on the first end.
- Then, you have to connect a wire to the capacitor on its positive terminal. And connect the other end of the wire to the test bulb on its second terminal.
- Once you make all the connections, you will see the light bulb going on. This means the capacitor is charging correctly. When the light goes off, it means you have fully charged your capacitor.
This is just an essential series electrical connection of the bulb, battery, and capacitor for those who know about wiring and electrical circuits. Also, to have a securer connection, you can use alligator clips here.
If you are wondering how this works, it’s simple. When you make all the connections, current or energy starts flowing through those wires. The illumination of light signals that electricity is flowing through the wires. And when the capacitor is fully charged, and no electricity can pass anymore, the bulb goes off. That’s how this whole thing works.
Related: How To Remove Car Stereo
FAQ
Many people have some common questions regarding charging a car audio capacitor. Let’s take a quick look at them here –
- Can you use a battery charger to charge a capacitor?
You can quickly charge a capacitor with a DC voltage source. If you can bring out the extended output from the DC voltage source, you can quickly charge the capacitor using that. For instance, connecting a capacitor to a 9v battery will charge up to a 9v battery.
- Does a capacitor get overcharged?
Yes, a capacitor can get overcharged if you use the wrong voltage sources or charge them for far too long. When you overcharge the capacitor, it can cause severe damage that you would want to avoid at all costs.
- What size capacitor do you need?
Well, there is no specific limit to the size of a capacitor. The least you need to go is the 1-farad capacitor. If you can go more than that, it just means you are providing more power for your amp to consume. However, the 1 Farad capacitance is just for 1000w RMS in your whole system.
So, if your system has 2000w RMS in total, you will need to have 2 Farad.
- Is it compulsory to have an audio capacitor?
No, having a capacitor for your car audio system isn’t compulsory. But it’s just better and safer to have one. You can not have a capacitor if you don’t use an amp or have a power-hogging car audio system. Also, if you don’t face the issues of dimming lights or amp taking all the battery power, you don’t need a capacitor. However, in most cases, it’s good practice to have one.
Conclusion
All in all, knowing how to charge a capacitor for car audio is very important. Because when you don’t charge your capacitor, there are inevitable negative consequences to it, which you don’t want. So, whenever you get a new car audio capacitor, make sure to charge it properly before installation. And to make the whole thing easier, try contacting a capacitor with a charging tool.
Simon graduated with a Mechanical and Electrical Engineering Degree. He has over 20 years of servicing experience in both Japanese and German car dealerships. He now acts as a freelance mechanic’s instructor for local schools.